Laminate flooring is a popular and cost-effective choice for homeowners looking to enhance their space with durability and style. Whether you’re a DIY enthusiast or a first-time installer, this comprehensive guide will walk you through every step—from preparing your subfloor to adding the final finishing touches. Learn how to measure, cut, and lay laminate planks like a pro, while avoiding common pitfalls. With the right tools, planning, and techniques, you can achieve a flawless, professional-looking floor that lasts for years!

Preparing for the Laminate Flooring Installation
Gathering Essential Tools and Materials
To kick off your laminate flooring adventure, gather vital tools and gear first. This step paves a clear path for the task. You’ll need a tape measure. It delivers exact cuts for planks. A utility knife slices materials with ease. For shaping corners or edges, a hand saw or jigsaw works wonders. These tools dance through tough spots. During the crafting phase, a hammer and tapping block come in handy. They coax planks into a snug embrace without harm. An underlayment is also key. It hushes noise and cushions the floating floor system. So, ready all your gear to start. This ensures a triumphant journey.
Assessing and Preparing the Subfloor
Cleaning and Leveling the Subfloor
To ensure that your flooring installation lasts long and achieves a finish at the end result it’s crucial to start with a clean and level subfloor free of any dust or debris while ensuring there are no sticky residues, from previous installations present.
Checking for Moisture Levels
Much moisture can cause harm to laminate flooring over time. It’s advisable to use a moisture meter to assess the moisture levels of the subfloor. If elevated moisture levels are detected, it is recommended to think about installing a vapor barrier or addressing the underlying issue causing the moisture concern before commencing with the installation procedure.
Planning the Layout and Measuring the Space
Prioritize taking measurements to reduce waste and reach your project goals effectively. Begin by measuring the dimensions of the room and determining the amount of planks for the job. When planning the layout remember to account for design elements, in areas that will need cutting, like around door frames. Ensure that you stagger the joints of the planks to achieve a look.
Choosing and Acclimating Laminate Flooring
Selecting the Right Laminate for Your Space
When picking out laminate flooring for your space think about qualities such as longevity and style preferences The thickness options vary from 7mm, to 12mm and opting for choices is recommended especially for floors that are not even It offers improved sound insulation as well Choose a design that matches the decor of your home whether you prefer a wood like look or a stone inspired finish.
Allowing the Laminate to Acclimate
Ensure to allow around 48 hours before beginning the installation of laminate flooring in your home to let it acclimate properly to the room’s temperature and humidity conditions by keeping the boxes closed during this period to avoid issues, such as expansion or shrinkage, once it’s all installed correctly.
Installing Underlayment for Laminate Flooring
The Importance of Underlayment in Laminate Installation
An underlayment known as padding is inserted between the subfloor and laminate planks to minimize sound and protect against moisture while creating a walking surface for the installation of floating laminate flooring on top of it.
Laying the Underlayment Correctly
Carefully lay down the underlayment onto the subfloor ensuring there are no overlaps or gaps, between sections and use tape to secure it firmly when needed.Trim any material along the edges with a utility knife.
Step-by-Step Process of Laying Laminate Flooring
From spacing for expansion to cutting planks for a flawless fit, each detail ensures a sturdy, polished floor that stands the test of time.
Starting with the First Row
Aligning and Spacing the Boards Properly
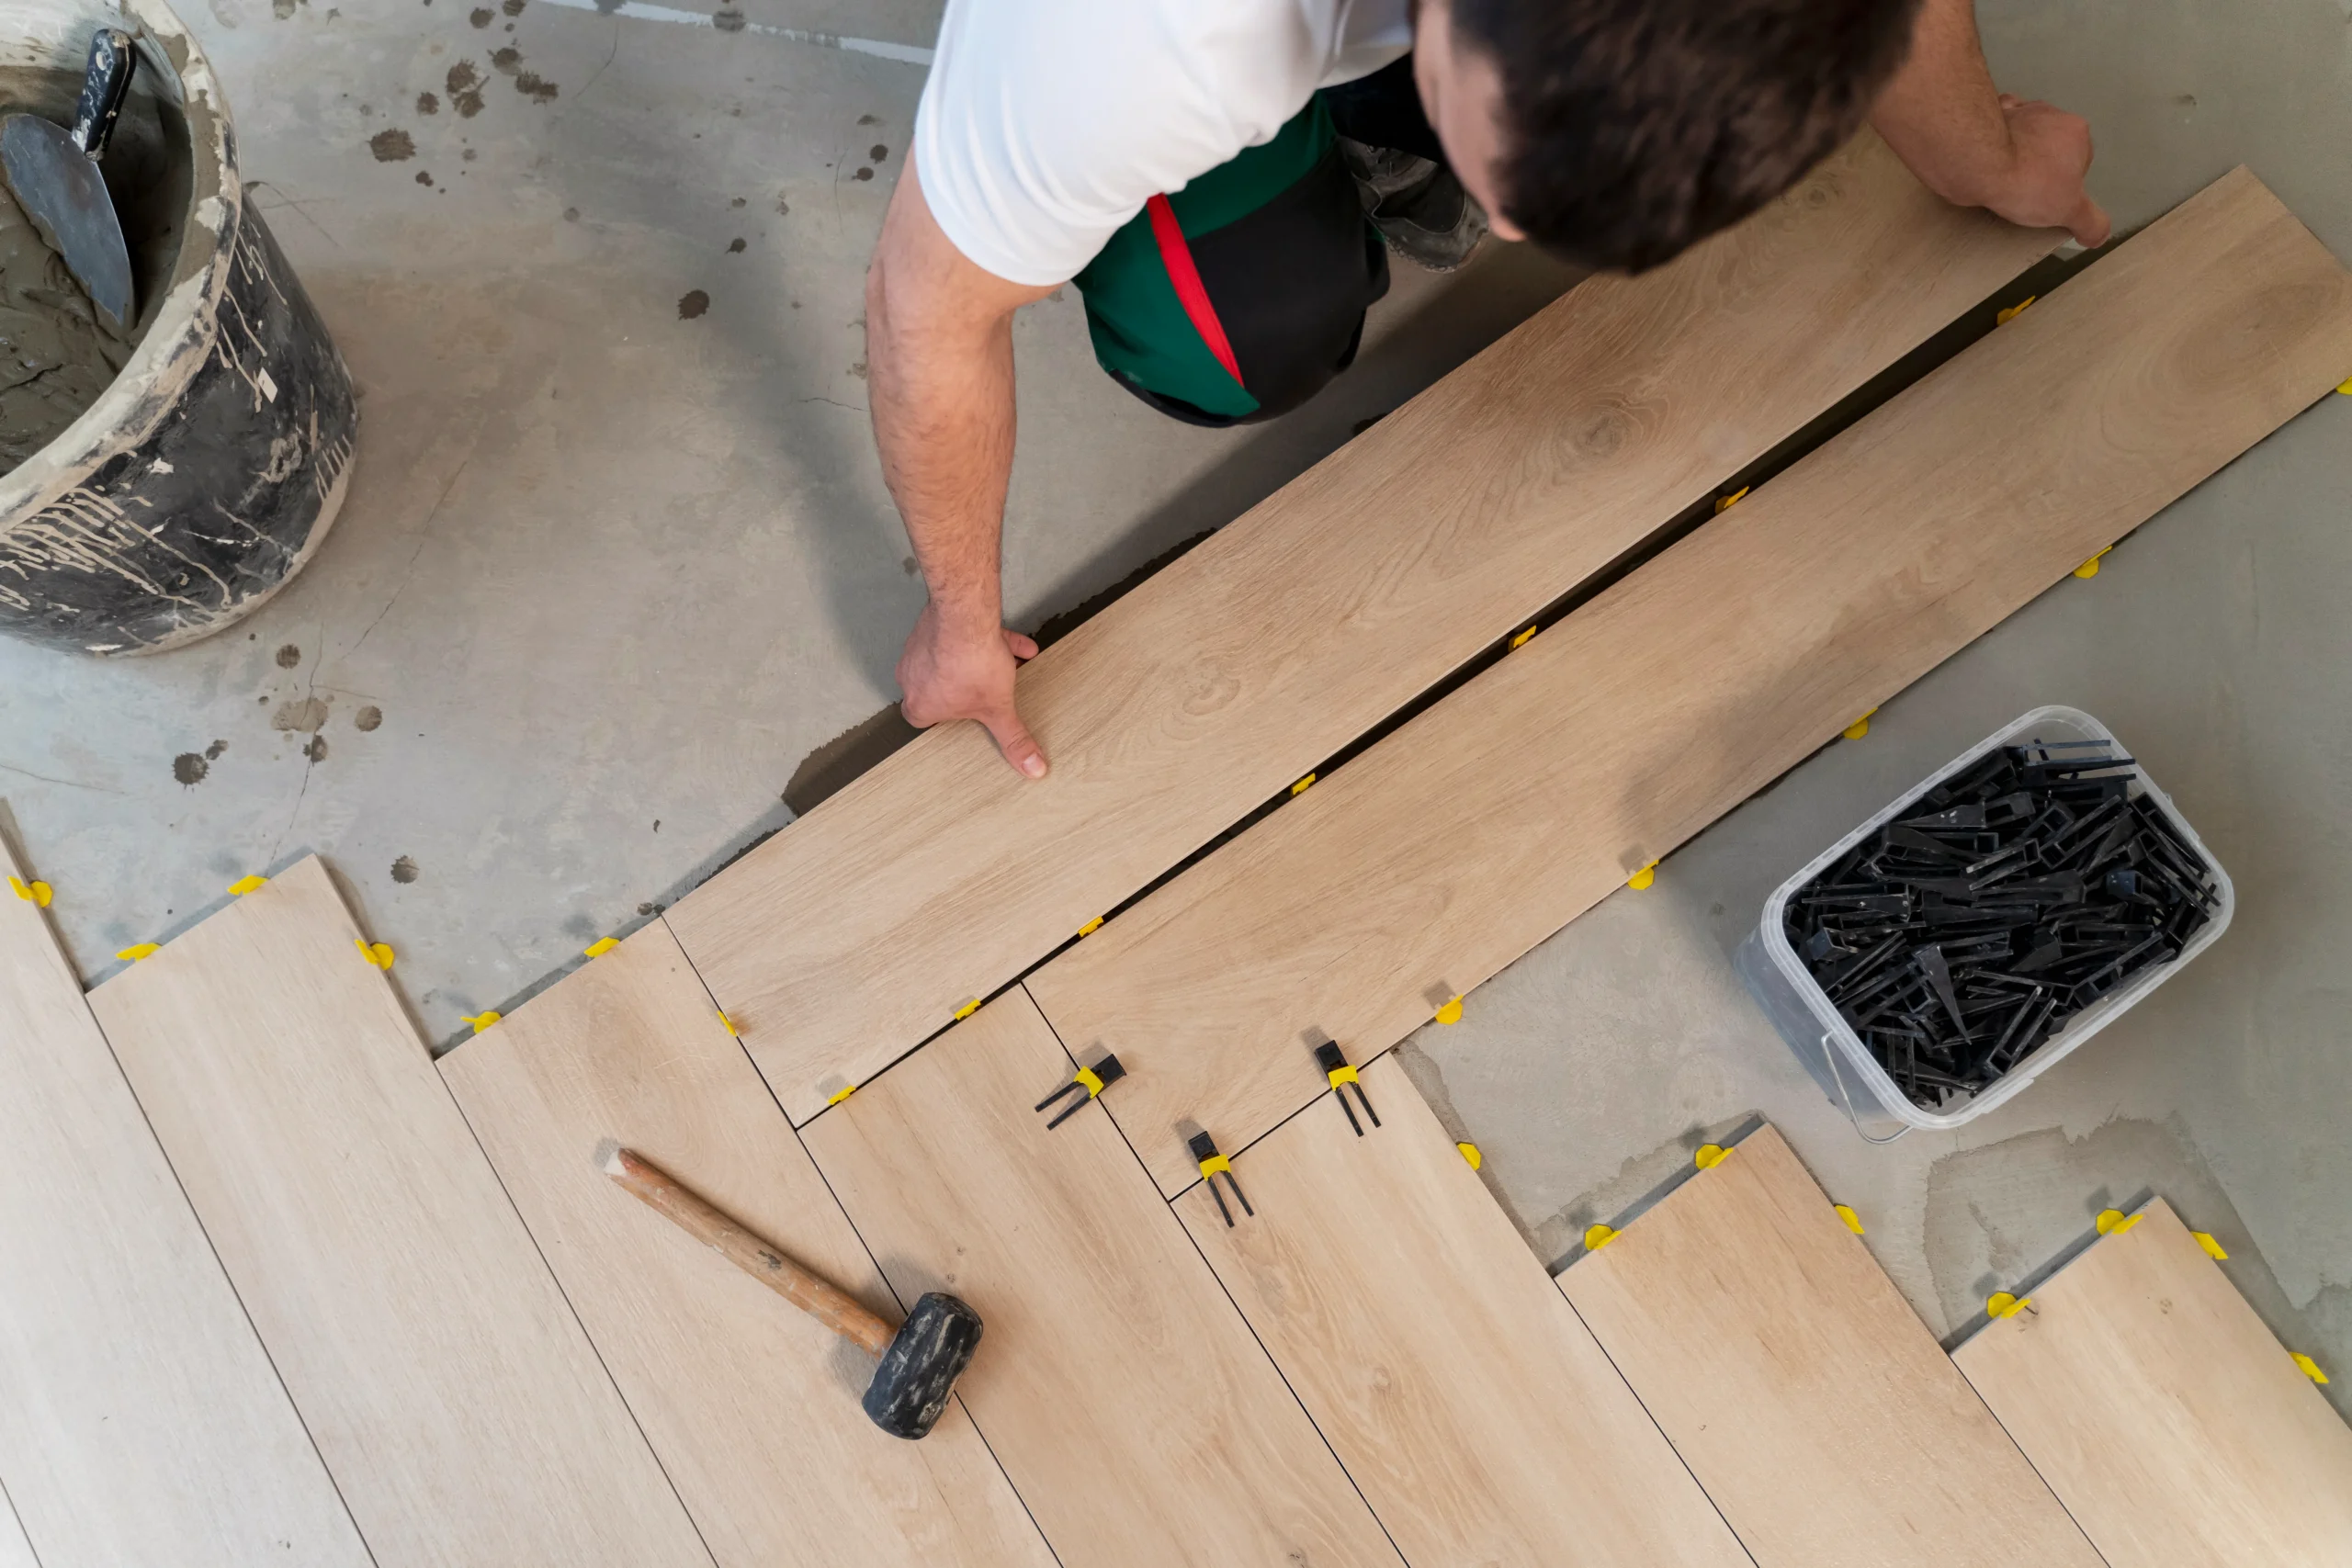
Start by arranging the boards in a line against the wall to make sure they align perfectly. Insert spacers between the boards and the walls to create a ¼ inch space. This will accommodate any expansion caused by variations in temperature or humidity levels.
Using Spacers for Expansion Gaps
Proper spacing is crucial during the installation of laminate flooring to create gaps that prevent it from becoming uneven as it expands with time.
Connecting Boards Using the Click-Lock Mechanism
Ensuring Tight Joints Between Boards
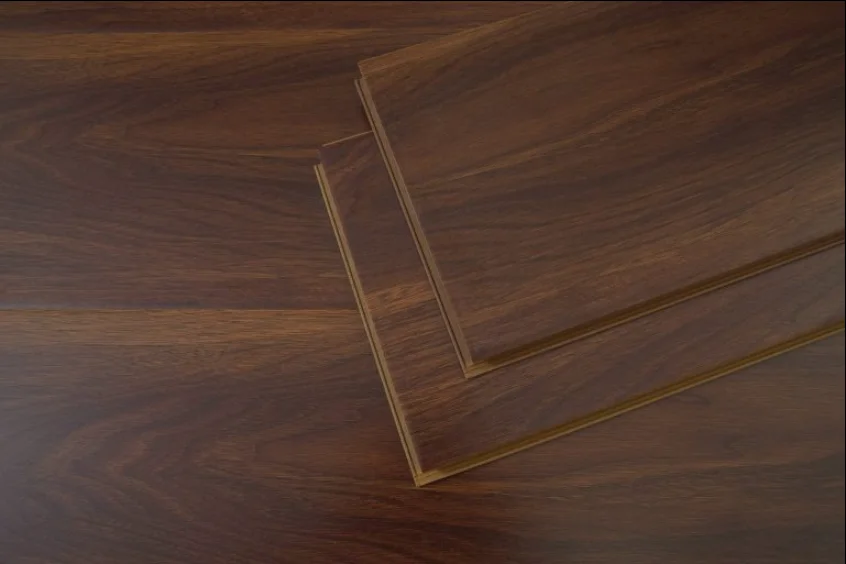
Many types of laminate flooring come with a locking mechanism that removes the requirement for adhesive when installing them. This allows the planks to easily connect by clicking into position and ensures a fit without causing any harm to the edges with a simple tap using a block and hammer.
Cutting Boards to Fit Edges and Corners
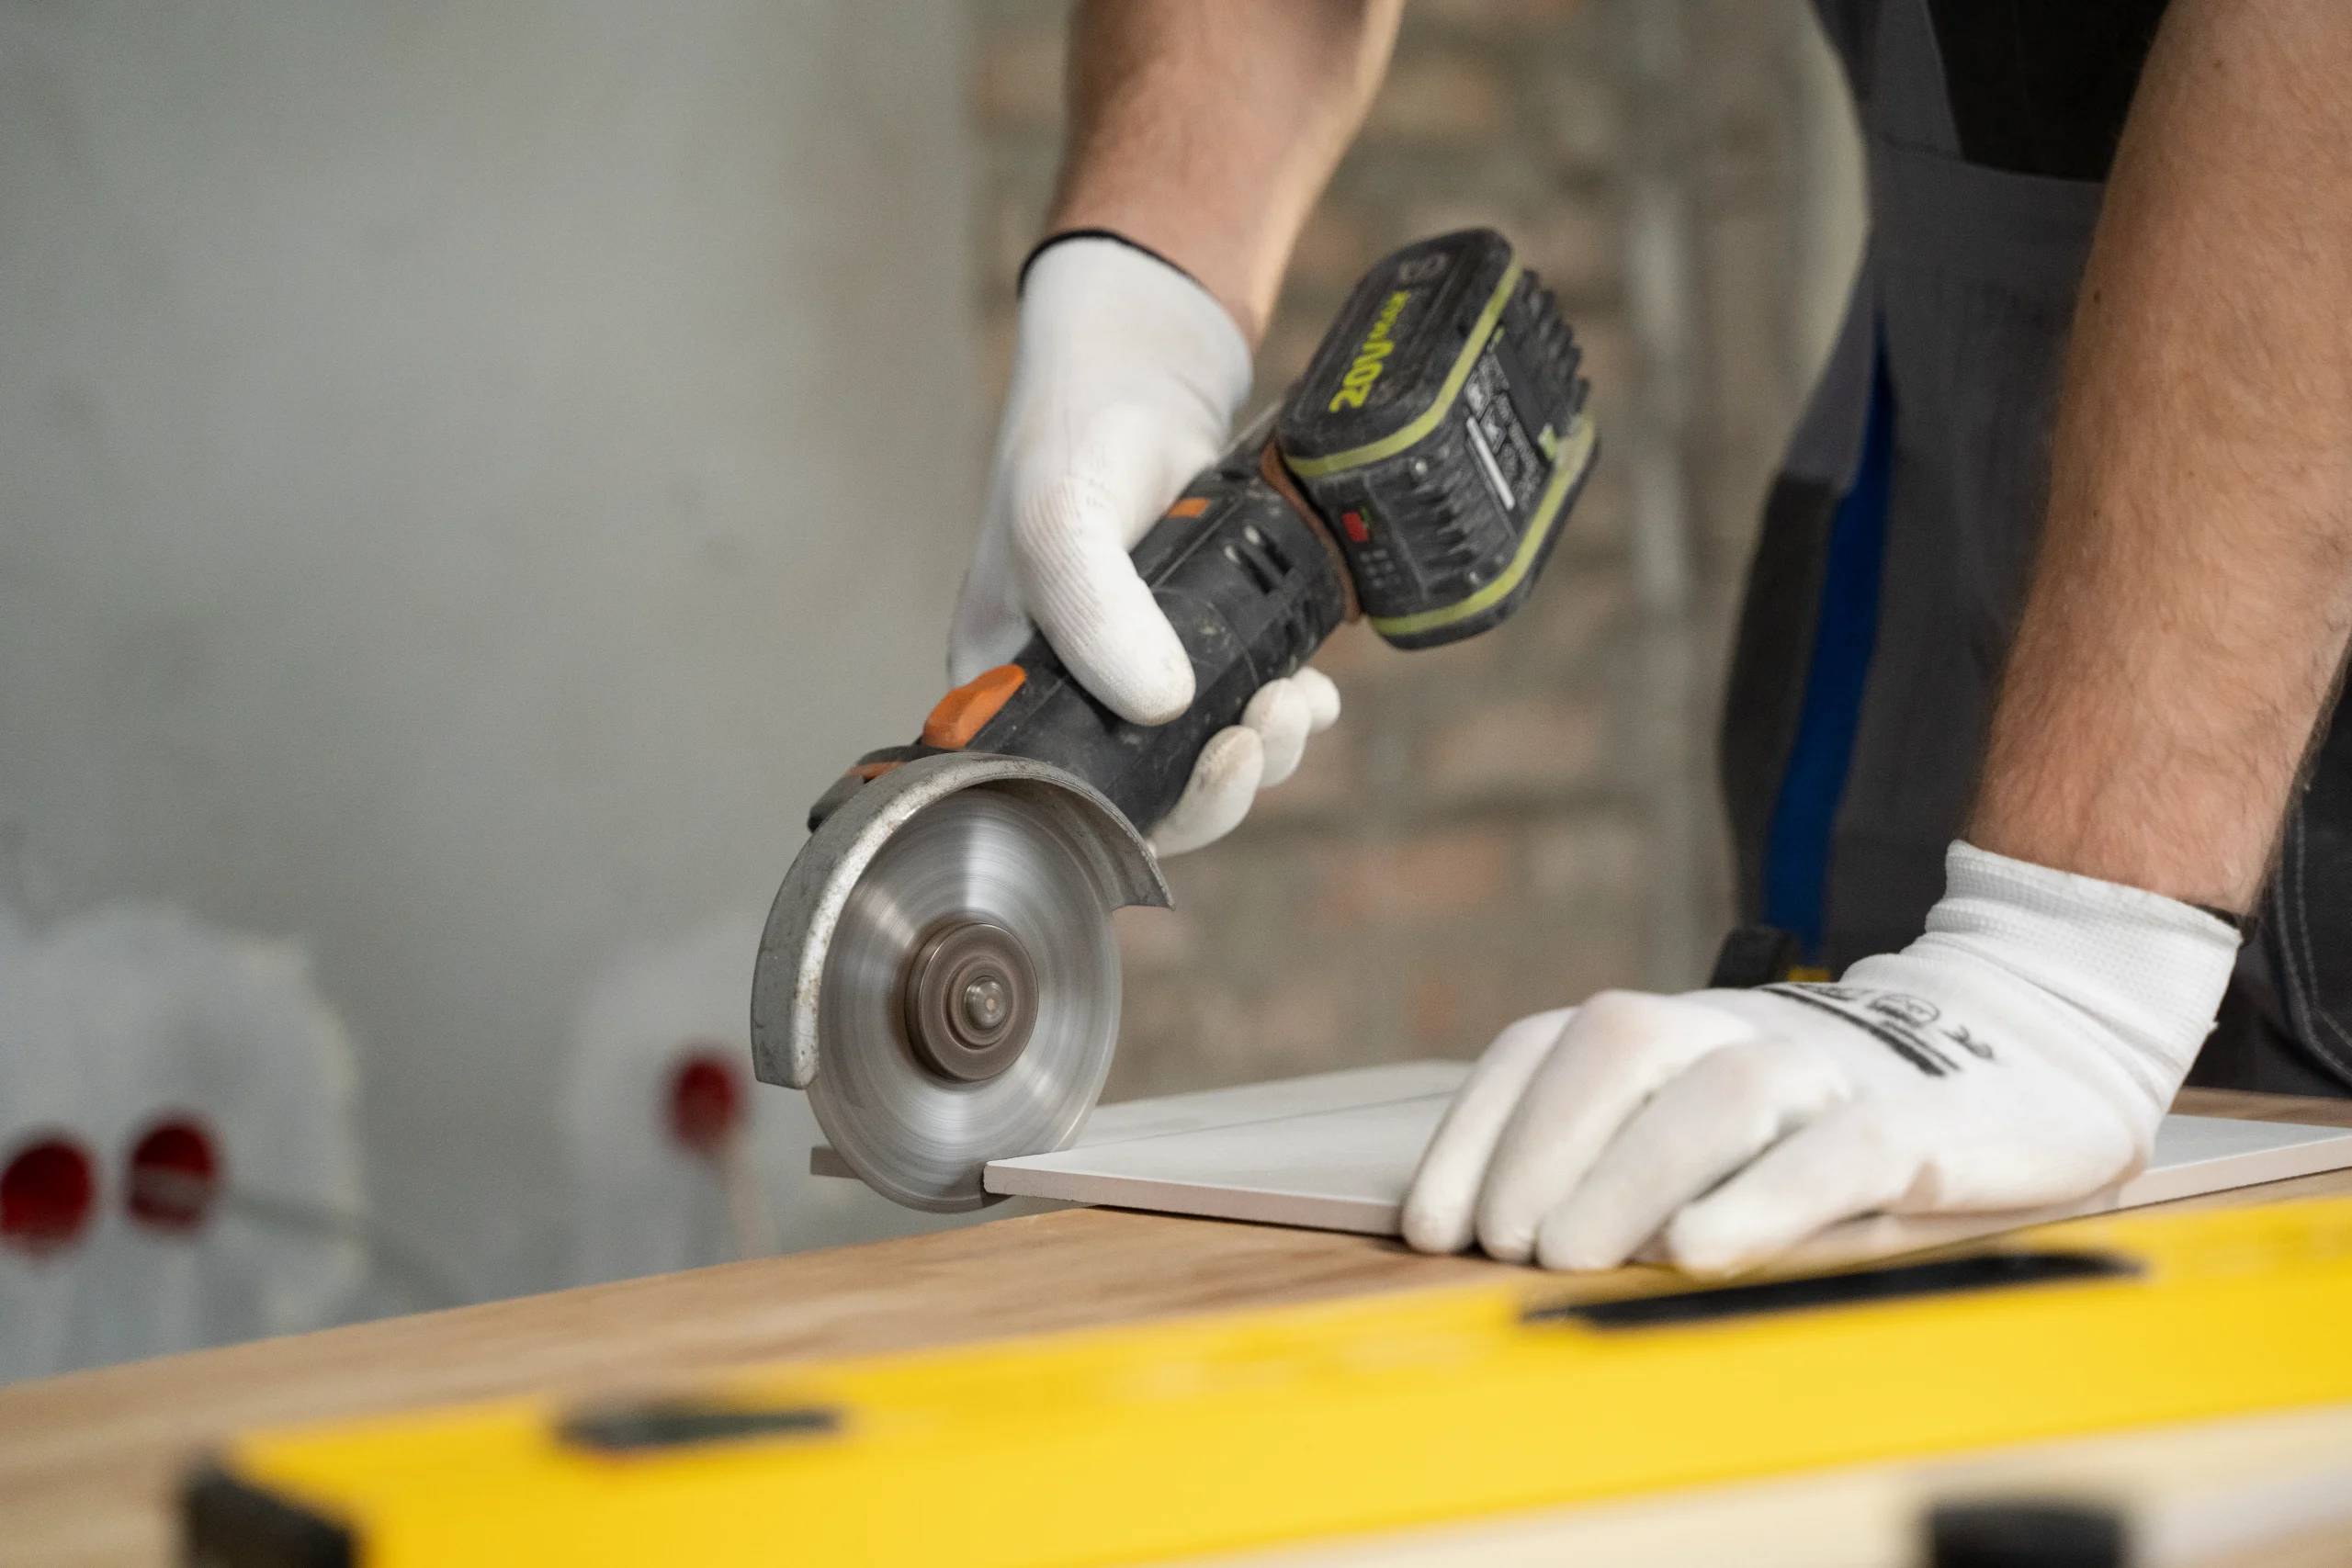
Identify spots where complete planks might not match like corners or entrance ways then mark cutting guides on each plank to customize them for a precise fit, in those locations and utilize a jigsaw or hand saw to create incisions that seamlessly blend with walls or obstructions.
Dealing with Obstacles During Installation
Cutting Around Door Frames and Other Fixtures
During a flooring project that involves working near door frames and fixtures, precision is key for a finished outcome. Let’s start by using a handsaw or an oscillating tool to cut below the door frame to make room for the laminate flooring to slide in seamlessly for a refined appearance. Make sure to measure the area and mark the laminate board before making any cuts. For complex cuts, around frames or fixtures, it’s best to use a jigsaw to ensure a snug fit of the plank. You can opt to use either a hand saw or, in some cases, a jigsaw to adjust the laminate planks accurately. Make sure to verify your measurements before starting the cutting process to prevent any wastage of materials.
Installing Around Pipes or Irregular Spaces
When installing laminate flooring around pipes or tight corners is essential to plan and use precise cutting techniques to ensure a neat finish. Begin by measuring the pipe’s diameter and marking it on the plank as a guide. Then proceed to cut a hole in the plank of the size as the diameter measured and make an angled cut from one end of the plank towards the hole. After installation is fill in any gaps with pipe collars or silicone caulk, for a seamless look.
Finishing Touches for a Professional Look
Installing Baseboards or Molding
Transform the look of your room effortlessly by incorporating laminate flooring and pairing it with baseboards and molding that suit your style flawlessly Remember to select baseboards that reflect your taste and attach them securely along the rooms perimeter once all the planks are, in position.
Securing Baseboards Without Damaging Flooring
When installing baseboards in a room or space of your choice. Ensuring a proper fit and finish to your liking without compromising flexibility over the long term due to changes in temperature and moisture levels over the years ahead. To secure the baseboards in place without affecting their ability to expand or contract naturally with environmental variations over t, time and give a polished appearance to your walls and flooring area. Consider using glue or adhesive along with nails for added stability during the installation process, for a more professional look and feel in the outcome.
Cleaning and Inspecting Your New Floor
After you’ve finished installing your laminate flooring and smoothly laid out all the planks in place just right it’s time to give it a good clean to get rid of any dust particles dirt and sticky residues that may have accumulated during the process To keep your laminate flooring looking fresh and well maintained the best way to clean it involves using a mop slightly dampened with water and a gentle detergent Its important to be gentle in your cleaning approach and avoid using harsh scrubbing tools abrasive cleaners as they can potentially cause damage, to the surface of the flooring. After you’ve completed cleaning take a moment to carefully inspect each plank making sure they are securely locked together without any noticeable gaps errors for a flawless finish.
Maintenance Tips for the Longevity of Laminate Floors
Regular Cleaning Practices
It’s important to keep your laminate flooring in shape to make sure it lasts long. Keeping it looking the same is key here. Remember to sweep to get rid of dirt and debris that could cause scratches over time. A week or as needed, use a slightly damp cloth with warm water and mild soap for cleaning. If a lot of dust builds up, consider using a broom or vacuum cleaner. Just be cautious not to use much water as it can harm the floor’s finish.
Protecting Against Scratches and Moisture
To avoid damaging your floors and keep them scratch-free,
1) Place felt pads beneath the furniture legs.
2) Use rugs in traffic areas to prevent damage from moving furniture.
3) Clean up spills promptly to avoid moisture damage. For kitchen and bathroom floors,
4) Think about using moisture-resistant laminate for added protection.
FAQs:
Q1:Is it possible to put laminate flooring in places such as bathrooms?
A:Yes indeed,o you can choose laminate flooring specifically created for areas with high moisture to prevent any harm caused by dampness.
Q2:What kind of tools should I gather to install laminate flooring in my own house?
A:You’ll require tools like a measuring tape, utility knife for cutting purposes some spacers to maintain spacing between the planks, a saw (either handheld or jigsaw) a hammer for securing the planks into place a tapping block for tapping the planks firmly a pull bar to help with closing any gaps and underlayment material for added support and cushioning underneath the flooring planks itself.No specialized tools or expertise are necessary to lay down laminate flooring, by yourself in your home environment.
Q3: How do spacers help prevent future issues?
A:To prevent your laminate flooring from bending or getting uneven as time goes on and to keep a gap, during installation process use spacers to maintain expansion gaps is essential.
Q4:Can laminate flooring be safely installed over underfloor heating systems, and what features make it suitable for such setups?
A:Sure thing! Installing laminate flooring over heating systems will be fine if its done properly without any issues cropping up along the way.The cross ply design is a feature as it helps reduce expansion and contraction problems which makes it ideal for spaces, with humidity and underfloor heating setups.
Q5:What is the average lifespan of well-maintained laminate flooring, and what factors influence its durability?
A:How many years can laminate flooring endure when properly maintained you may ponder this inquiry with curiosity in mind high quality laminate floors that receive proper care typically have a lifespan of 15 to 25 years subject, to usage and the floorings quality.


